Getting Started
-
Install and activate
- In WordPress, go to Plugins → Add New → Upload Plugin.
- Upload the plugin ZIP.
- Click Activate.
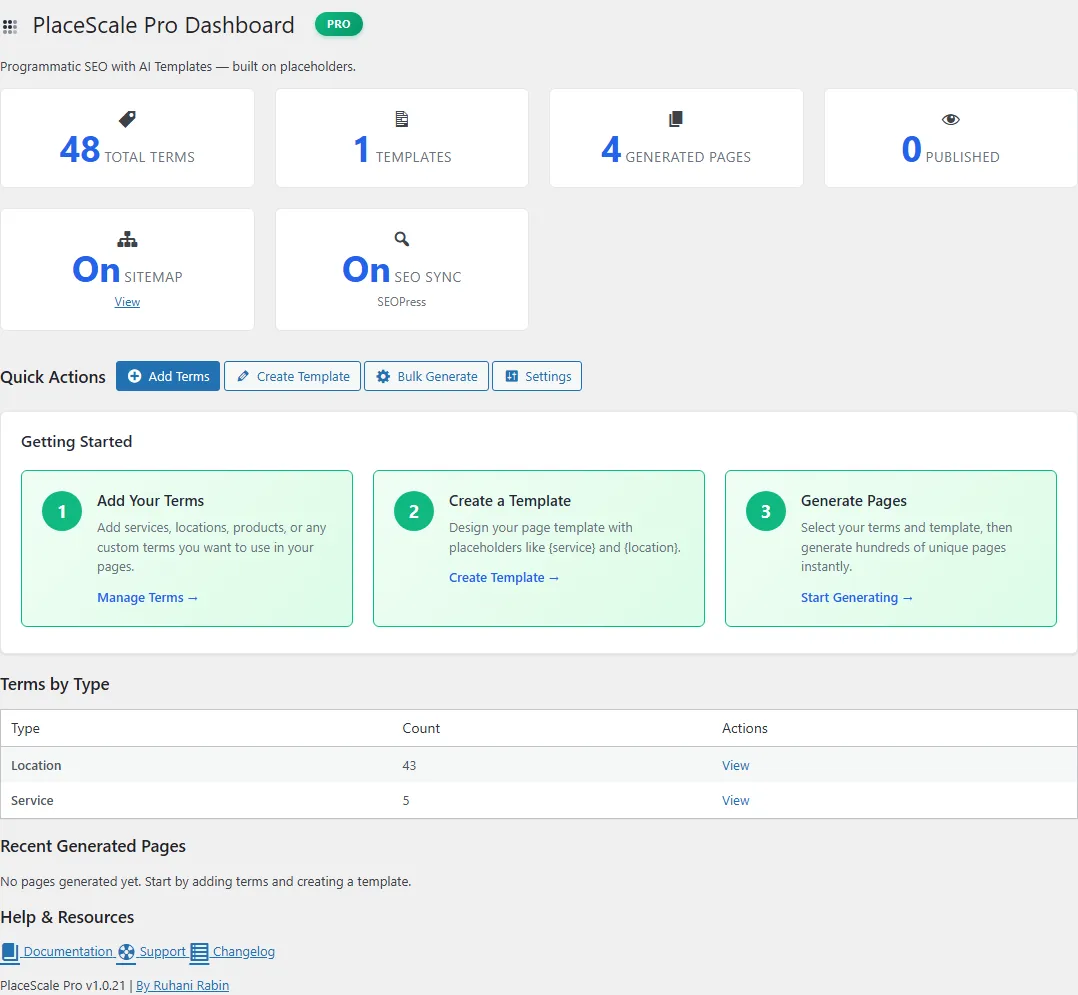
- Open PlaceScale → Dashboard.
-
Activate your license
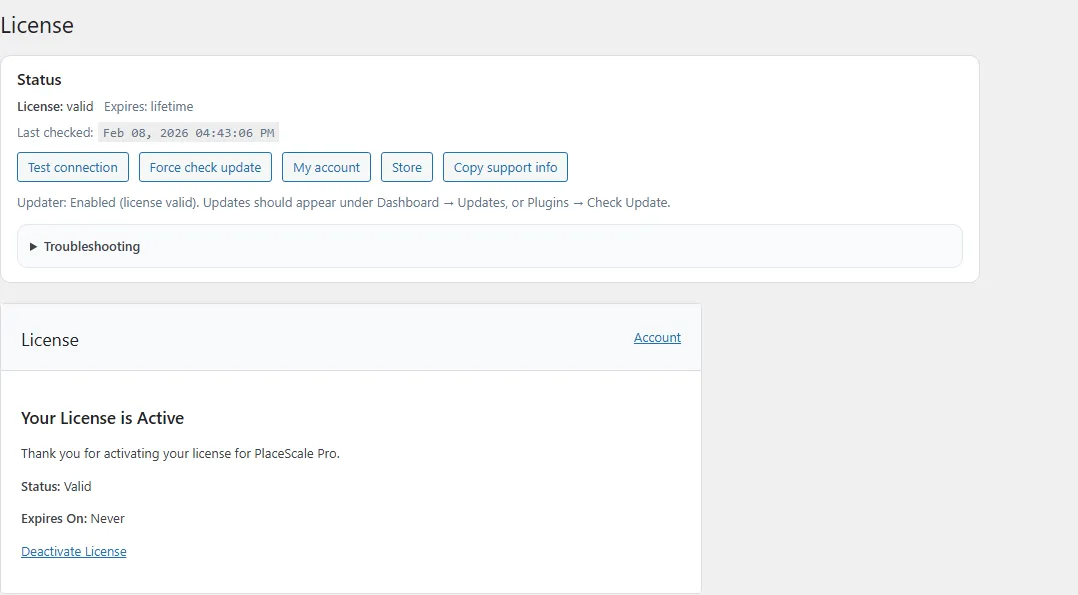
- Go to PlaceScale → License.
- Paste your license key.
- Click Activate.
- If it fails, click Test connection.
-
Run Quick Start (recommended)
Go to PlaceScale → Quick Start.
Quick Start only changes settings. It does not create, edit, or delete your pages.
It helps you set:
- Base slug (URL base for generated pages)
- Sitemap
- Internal links (via
{{pscale:links}}) - Related Pages (optional)
Next: Quick Start
-
Add your terms
Go to PlaceScale → Terms.
Create at least:
- one
service - one
location
Add a term:
- Click Add New Term.
- Set Type (example:
service). - Set Value (example: “Plumber”).
- (Optional) Set Plural, Slug, and Custom Fields.
- Save.
Tip: For better social previews, add a Custom Field:
- Key:
og_image - Value: full image URL
- one
-
Create a template
Go to PlaceScale → Templates.
Create either:
- Templates (Block Editor), or
- Classic Templates
Use placeholders like:
{service}/{Service}{location}/{Location}
Optional template tokens:
{{pscale:links}}(internal links){{Fast|Affordable|Trusted}}(spintax)
-
Preview generation
Go to PlaceScale → Bulk Generate.
- Choose Term Set 1 type and select terms.
- Choose Term Set 2 type and select terms.
- Choose a Template.
- Click Preview.
Preview shows example titles, URLs, and content before anything is created.
-
Generate pages
Still in PlaceScale → Bulk Generate:
- Choose Page Status (Draft / Published / Pending Review).
- Keep Skip existing combinations checked.
- Click Generate Pages.
Publishing Scheduler option:
If the scheduler is enabled, you can use:
- Use Publishing Scheduler (queue as drafts, publish gradually)
This queues pages as drafts and publishes them over time.
-
Review and publish
Go to PlaceScale → Generated Pages.
From here you can:
- review drafts
- edit pages
- regenerate pages
- publish manually, or publish gradually via the scheduler